
 FR
FR DE
DE EN
EN


Selection
In order to select modules to be converted by myRenda and/or integrate in myTeacher, use the command Add of the menu File or click on the button Add.
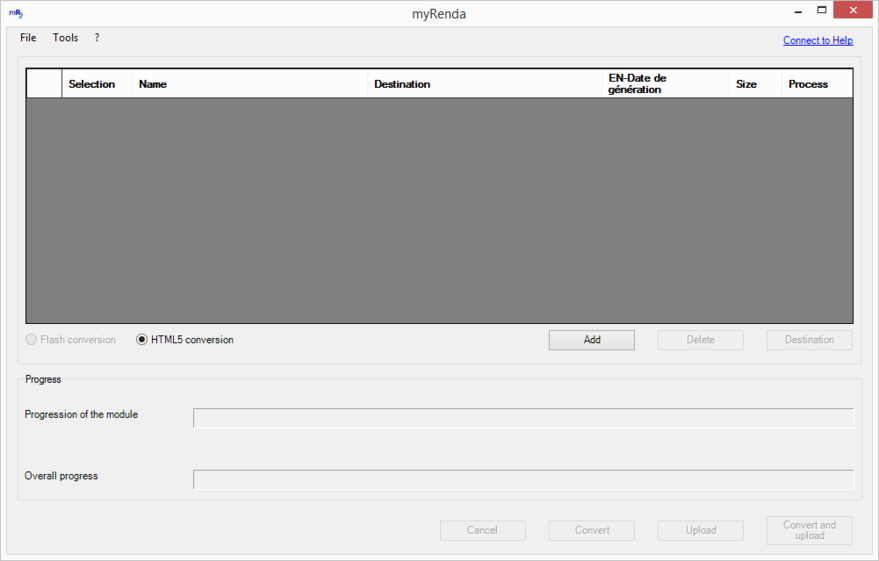

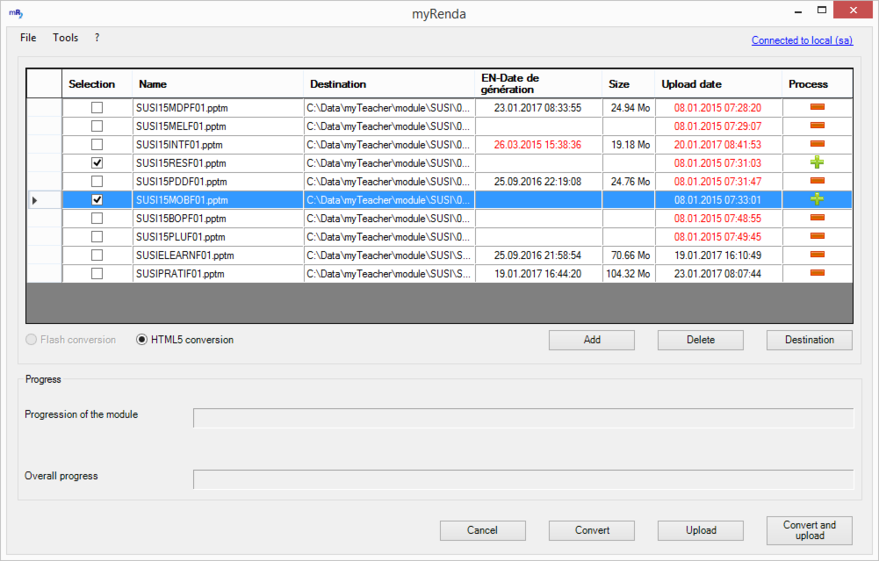
Main screen
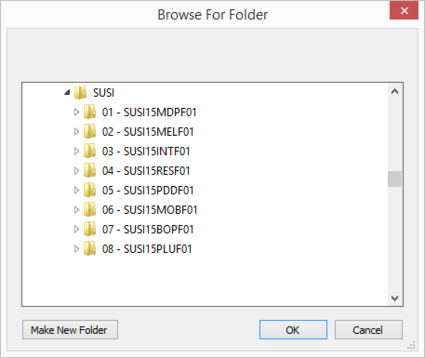

To search for a folder
Run through your computer to search for a folder containing the folder of the module (PowerPoint format) to be converted in module myTeacher.
Select it and validate with OK.
The list of modules contained in the selected folder appears in the list myRenda.
It is possible to repeat this operation to list several modules coming from different places.

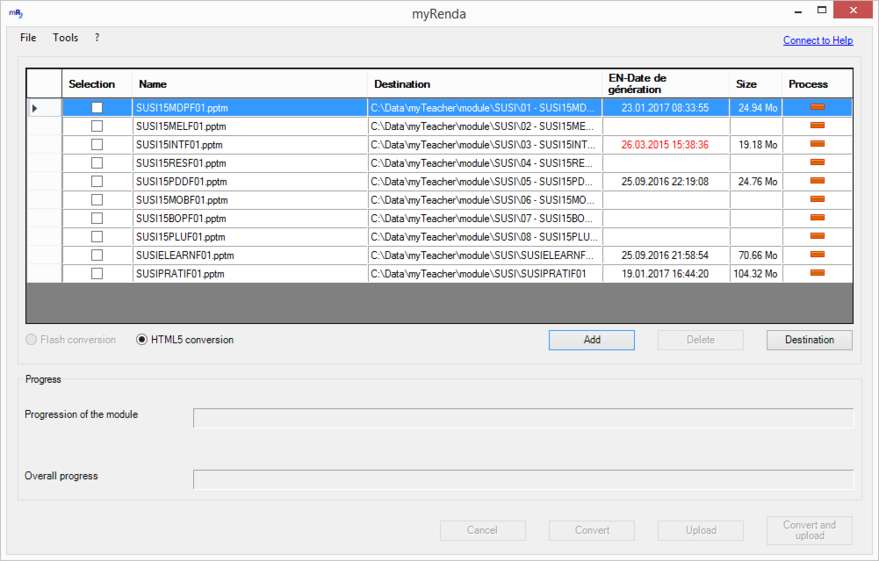
List of modules
The link Connected to … allows to have access to the platform myTeacher
The column Date of generation gives the date of the zip file generated by myRenda (to be integrated afterwards in myTeacher).
If this date is previous to the date of the PowerPoint file of the module, this date is then displayed in red and it invites you to re-convert and integrate the module.
Select the module(s) to be converted to the format myTeacher.

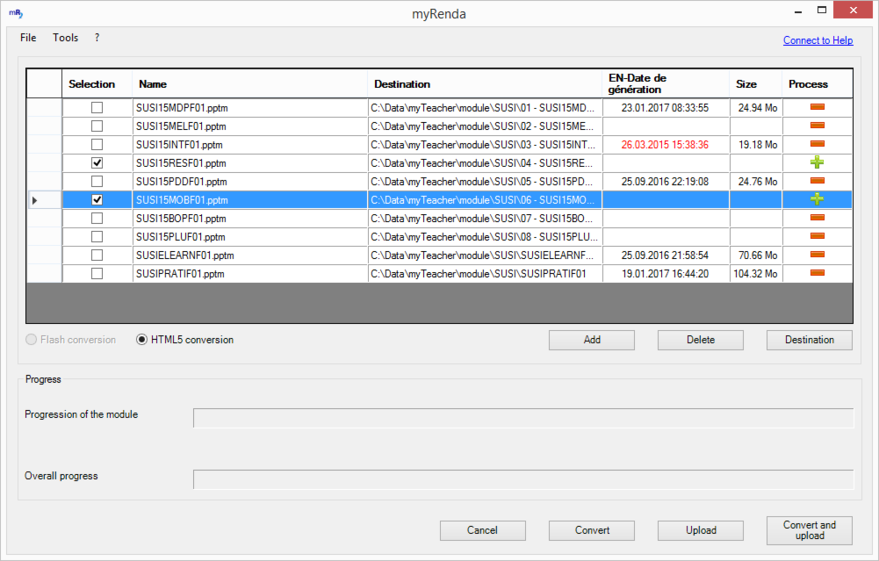
Selection of modules
If you connect to the server myTeacher by clicking on the link Connected to … other columns will appear in the list of the modules.

List of modules after connection to the server myTeacher
The column Date of integration gives the date of the last import of the module in myTeacher.
If that date is previous to the date of the zip file of the module, this date is then displayed in red and invites you to re-integrate the module.
Different icons appear in the column Processus in terms of the processing which is done on the module concerned.
 Module not selected. No processing will be done.
 Selected module.
 Module currently processed (conversion, integration).
 Module of which the processing was successful.
 Module for which the processing failed.
Use the button Cancel to remove the selected modules from the list.
This option does not cancel physically the folder from the computer but only from the list myRenda.
Use the button Destination to change the place where the module myTeacher is created. By default, the module myTeacher is created in the file containing the module PowerPoint.